Storing gas cylinders in the workplace is a critical issue for many sectors, including industry, logistics, production, maintenance and packaging. Poor management can lead to serious risks for people, buildings and goods. That is why it is essential to follow strict rules and adopt appropriate practices. At RIPACK, specialists in industrial shrink-wrapping solutions, we support […]
HOW TO PACK A PALLET CORRECTLY WITH RIPACK
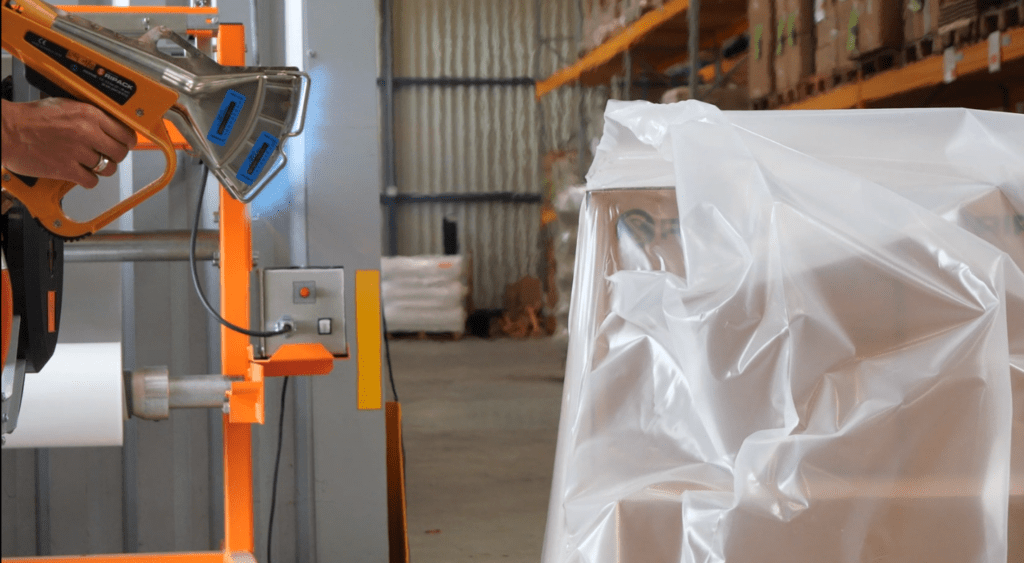
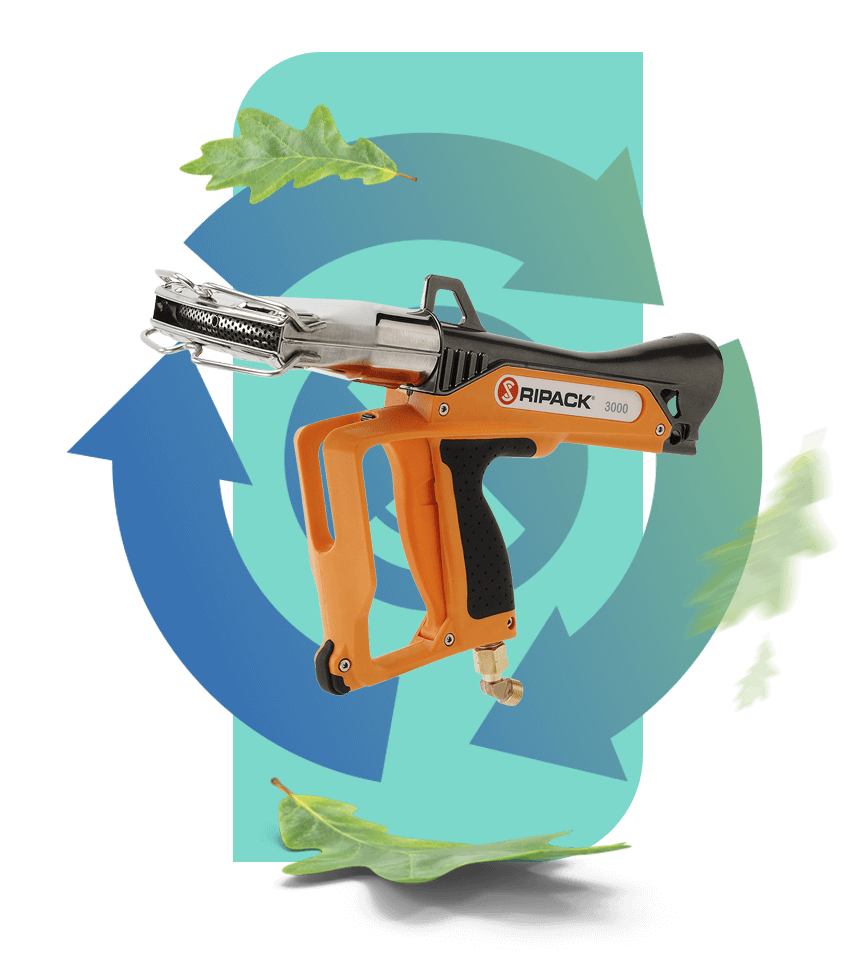
Correct pallet wrapping is essential to ensure the safety and stability of products during transport and storage. Using the right equipment and following the right steps can make all the difference. Here’s a step-by-step guide to properly wrapping a pallet with the Ripack® shrink gun.

HOW TO PACK A PALLET PROPERLY
1. Using a calpack pallet lifter
The pallet lifter is an essential accessory that raises the pallet by 5 centimetres so that the film can be slid correctly under the pallet to make packing easier. It gives the pallet greater stability and saves a significant amount of time during handling. The Calpack elevator is particularly recommended for its robustness and ease of use.
2. Calculating the cover
Before starting the shrink-wrapping process, it is vital to calculate the correct size of shrink-wrap required. To do this, measure the height of the pallet from its widest side to the middle of the top and add 10% of the resulting dimension. The cover should be large enough to cover the edges, fit under the pallet and be taut when shrunk. This ensures that it covers the pallet completely.
3. Prime the gun
Priming the Ripack® gun is a key stage in ensuring effective shrinking. Here’s how to do it:
- Make sure that the gun is connected to a full propane gas cylinder.
- Check that the connections are tight and that there are no gas leaks.
- Open the gas cylinder valve to 90°.
- Adjust the pressure of the Securipack regulator if necessary.
- Push the red button on the Sécuripack 3s to supply the gas.
- Press the trigger of the gun in 2 steps to initiate the flow of gas (first halfway and then fully).
4. Shrinkage of low edges
Start the shrinking process at the bottom edges of the cover. This step is crucial for anchoring the cover firmly to the pallet :
- Point the gun at the bottom of the pallet, keeping a safe distance of 20 cm to avoid burning the plastic.
- Move the gun along the lower edges of the cover, taking care not to stay in one place for too long.
- This is the point at which your cover should fit correctly under the pallet.
5. Shrinking zigzag faces
Once the bottom edges have been retracted, move on to the sides of the palette :
- Hold the gun at a constant distance of 20 cm from the cover to ensure even shrinkage.
- Move the gun in a zigzag pattern across each side of the pallet, starting at the bottom and working your way up.
- Do this for each side
7. Turning off the gas
The final step is to turn off the gas supply completely to ensure maximum safety :
- Disconnect the gun from the gas cylinder.
- Store the gas cylinder in a safe place (often outdoors), away from sources of heat and areas where flammable products are stored.
Wrapping a pallet correctly with the Ripack® gun involves following precise steps and complying with strict safety instructions. By using a Calpack pallet booster, correctly calculating the amount of cover required, and following the steps for shrinking and purging the gun, you can ensure that your pallets are packed safely and effectively. Always remember to handle gas with care and follow safety procedures to avoid any risk of accident.


